After Effects Panel Options
Create Tab
Install the UI Panel and open After Effects if you haven’t already.
Under the Create tab you have two options - Auto Export and Manual Export. Auto Export is the default and easiest way to export your project data from After Effects to a JSON file that the Blender TrackerJack add-on will import. Manual Export exists as a backup in the unlikely instance where Auto Export fails.
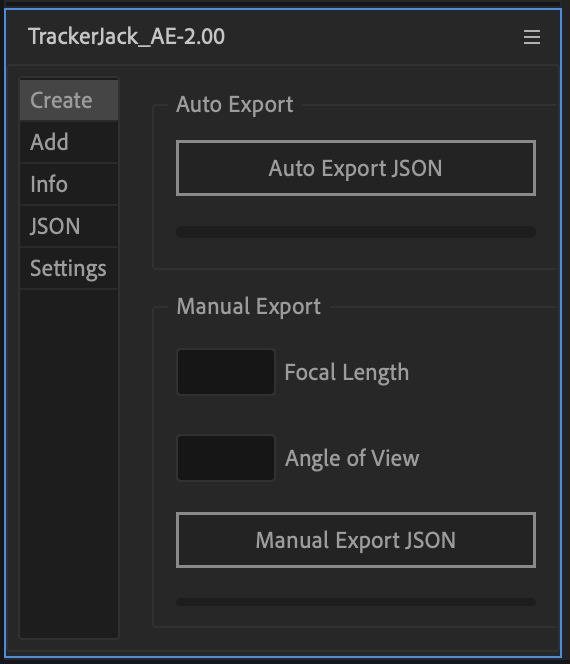
Auto Export
Save your AE project file to a folder. This is the location where your JSON file will be saved. You can also save to a custom file location (Settings > JSON Save Location > User Selection)
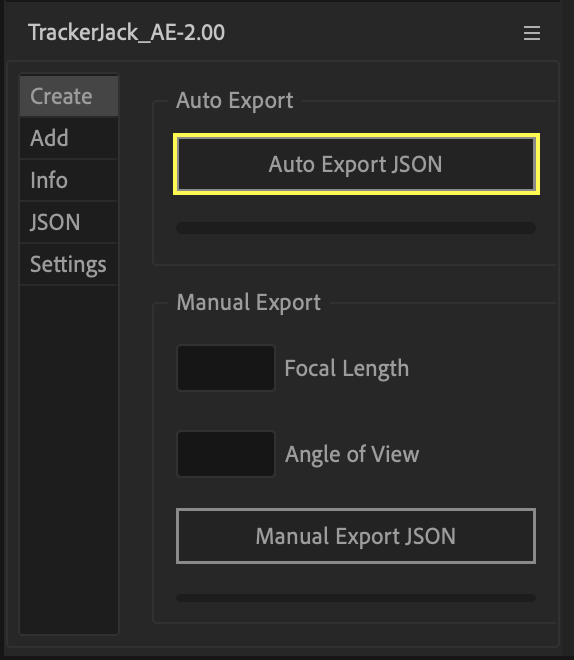
Click the Auto Export Button.
Manual Export
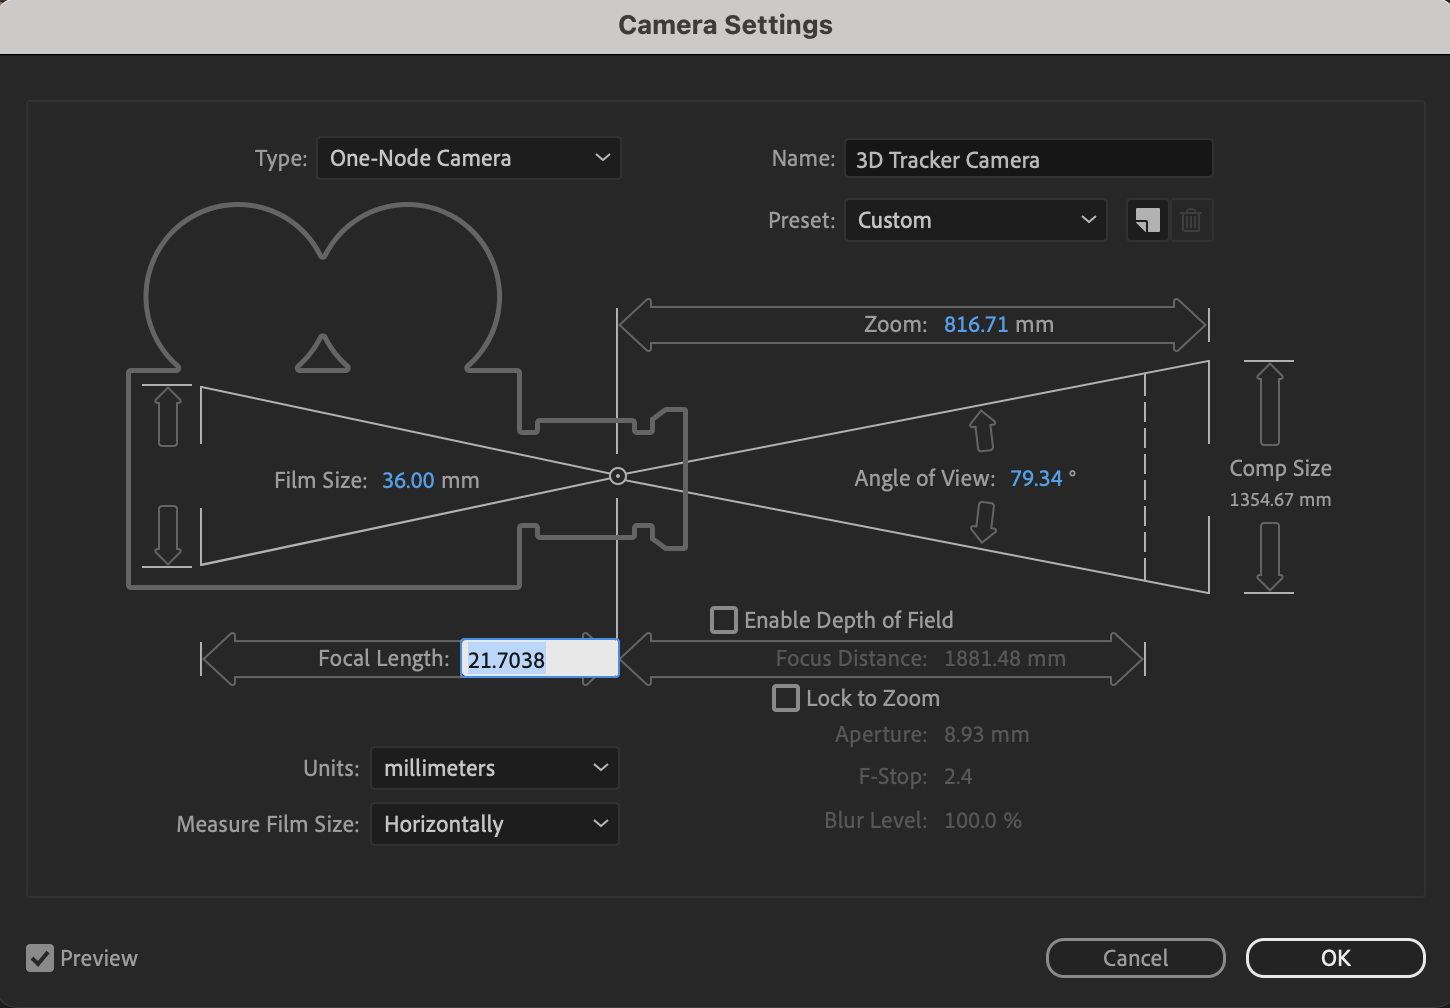
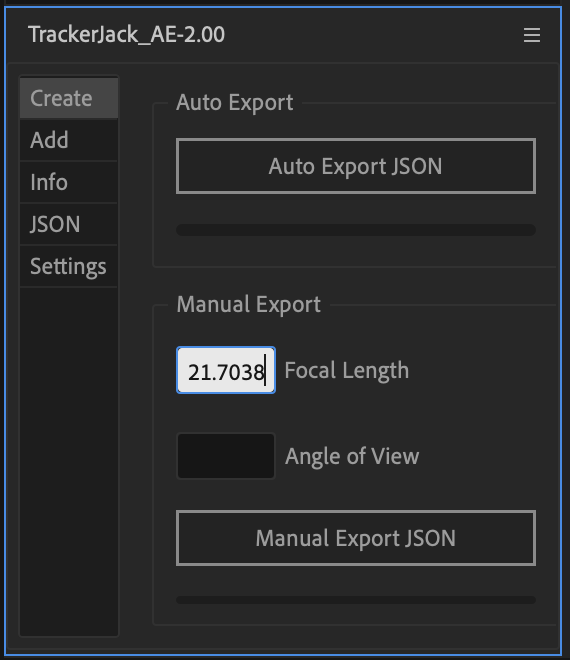
Two use Manual Export you must fill in the values for Focal Length and Angle of View fields which can be copied from the Camera Settings panel.
Save your AE project file to a folder. This is the location where your JSON file will be saved. You can also save to a custom file location (Settings > JSON Save Location > User Selection)
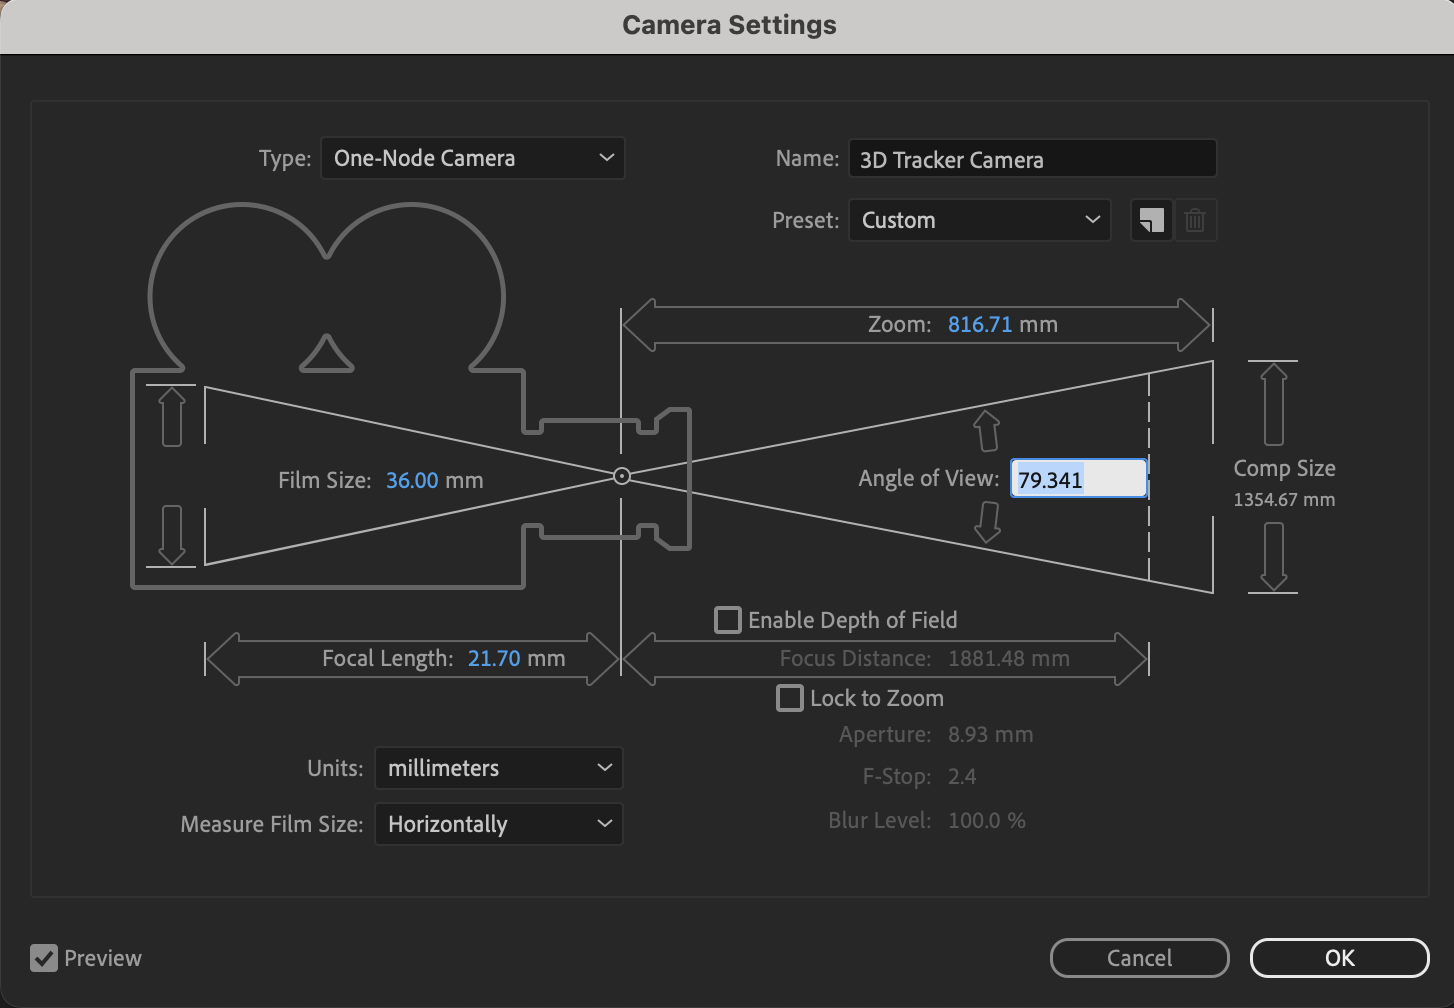
Double click on the 3D Tracker Camera layer in the comp timeline.
Copy the Focal Length value.
Click Cancel to close the panel
Paste the value into the TrackerJack Focal Length field.
Double click on the 3D Tracker Camera layer in the comp timeline.
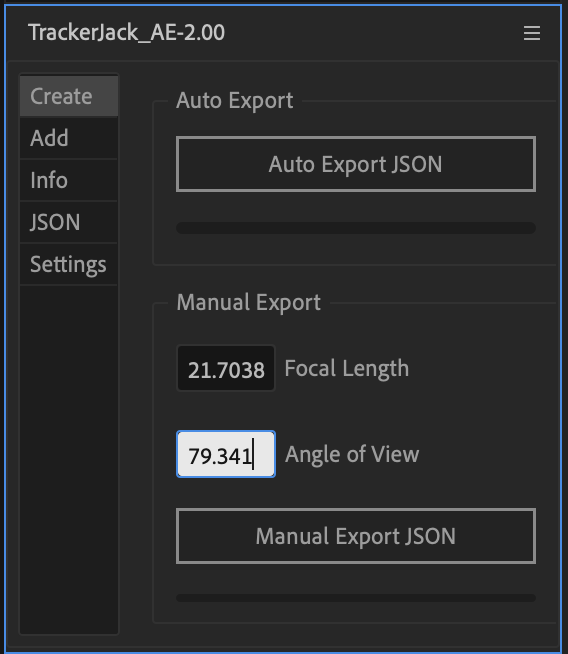
Copy the Angle of View value.
Click Cancel to close the panel
Paste the value into the TrackerJack Angle of View field.
Click the Manual Export JSON button to create the JSON file. A dialog box with the JSON file location will confirm success.
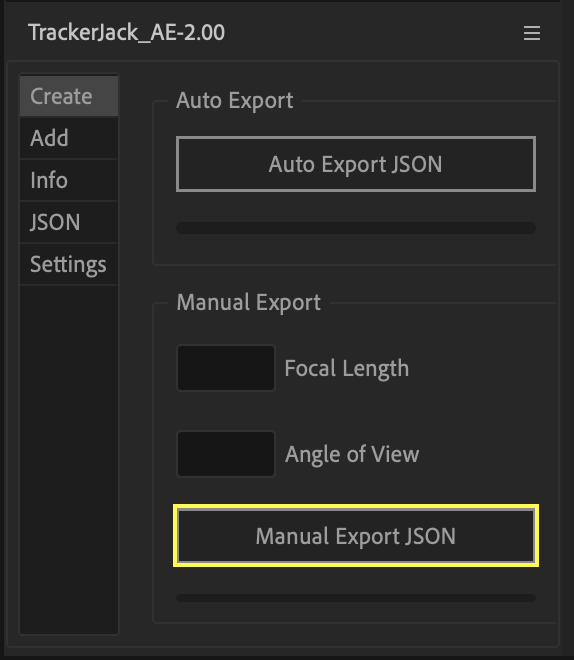
The JSON file is named {Your Project File Name}_{The Comp Name}_TrackerJack.json You can track one camera for each composition in your Project file.
Tip
By default TrackerJack will export the JSON file for Blender to the same location where you’ve saved the After Effects Project File. When TrackerJack imports your footage into Blender, it first looks for the movie file wherever it was orginally located when imported into After Effects. If the file has moved, it will then look for it in the same folder as the JSON file. The easiest method to avoid issues is to keep your footage file, AE project file, and JSON file in the same folder. If you need to save the JSON file to a separate location from the Project file, use change the JSON Save Location in (Settings > JSON Save Location > User Selection)
Add Tab
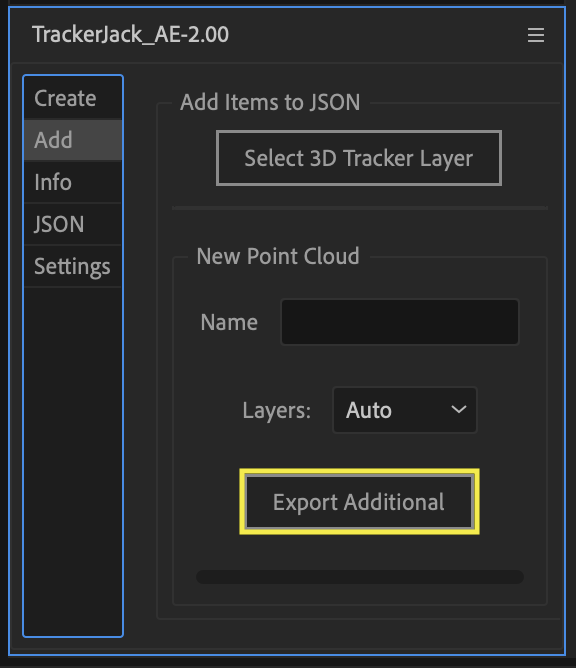
Once you’ve created your scene in Blender and begun modeling, you may decide to return to After Effects to create additional nulls and solids in order to add detail in areas not previously added. The Add tab allows you to update the existing JSON file with new items added to your timeline after the inital export. Each time you click Export Additional button the file is updated.
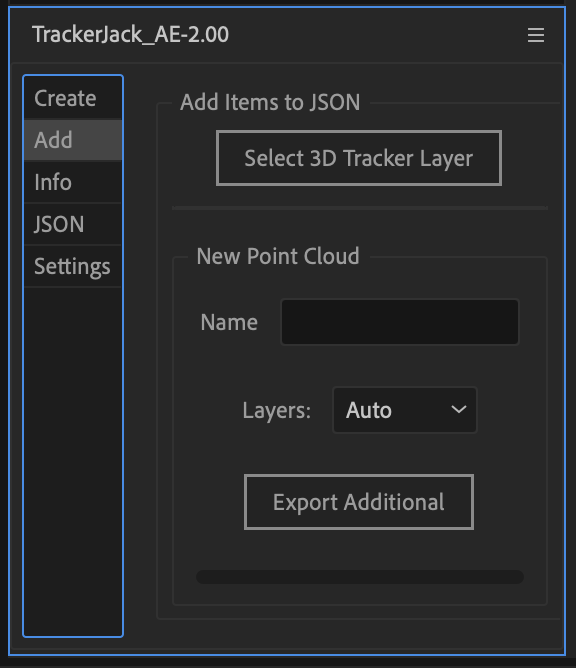
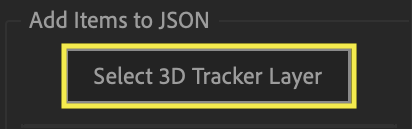
Select 3D Tracker Layer button
This is a shortcut. Clicking the button selects the movie layer and then selects the 3D Tracker Effect, which activates the track points for selection. This saves time scrolling in a timeline with hundreds of layers.
Once the track points are active you can create new nulls and or solids in your composition.
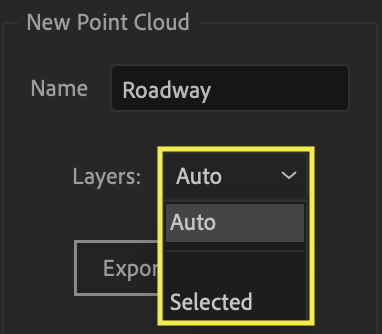
Name ( Entry Box )
Enter a name for the new point cloud (new null layers) in the Name box.

Layers ( Drop down choice )
Auto - will export any new layers since the last export
Selected - will export the layers manually selected in the timeline
Export Additional button
Click the Export Additional button to update the existing JSON file.
Tip
You can continue to create additional null layers, name them, and then click Export Additional repeatedly if you want to create more named pointcloud layers before returning to Blender.
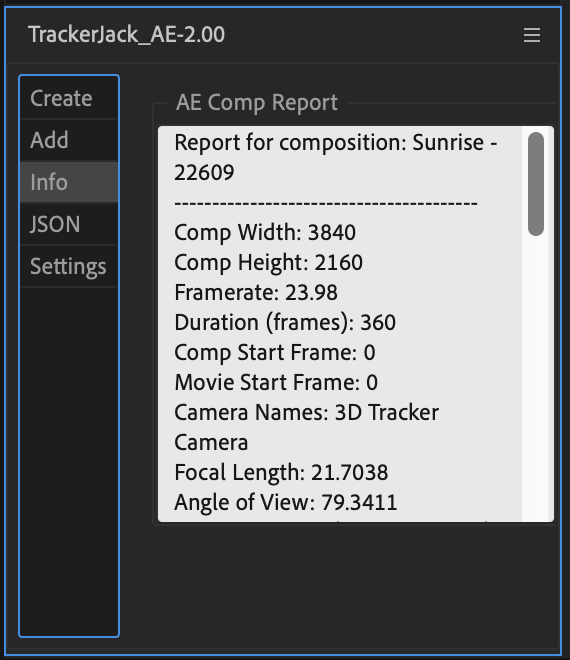
Info Tab
After exporting the JSON file the Info tab displays detailed information about your comp and project, which can be useful for troubleshooting any issues.
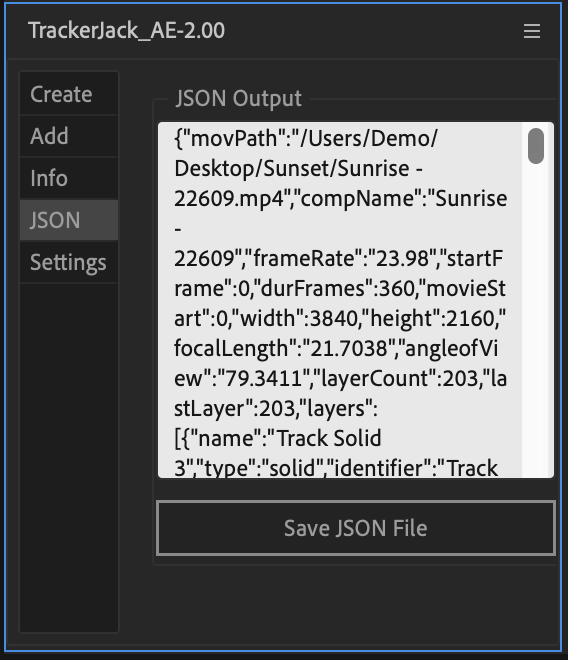
JSON Tab
After exporting the JSON file the JSON tab displays the generated JSON data. You can copy and paste into a text editor or use the Save JSON File button if the export didn’t complete writing to a file. You can also edit the data in this box before saving.
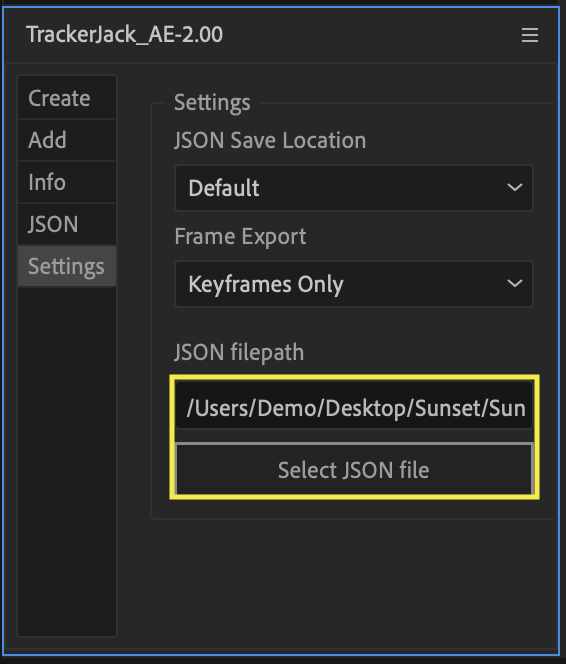
Settings Tab
These settings will change the operation for TrackerJack.
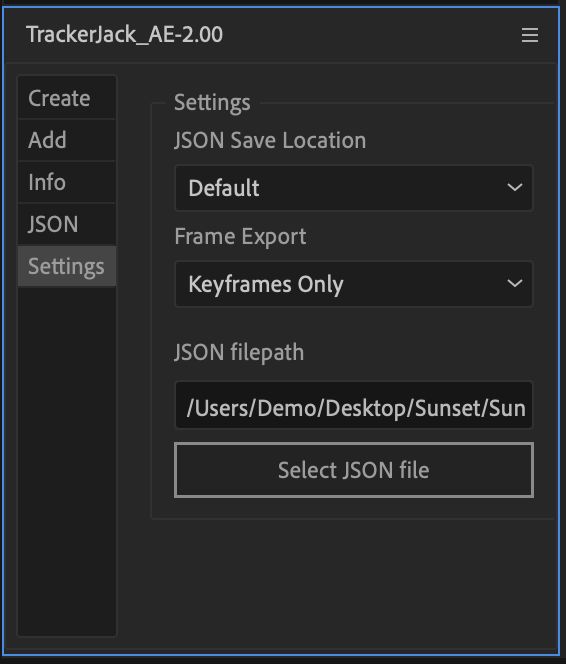
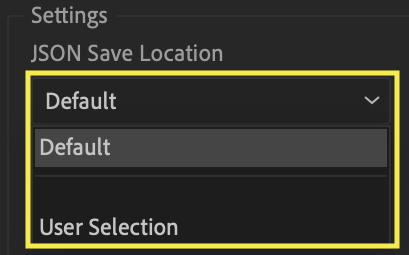
JSON Save Location(Drop down choice)
You can change where the TrackerJack JSON file is saved. If you’re on a team and need to save the JSON file locally this can be useful.
Default - will export to the same folder where your After Effects project is saved.
User Selection - After you click export you can choose where to save the JSON file.
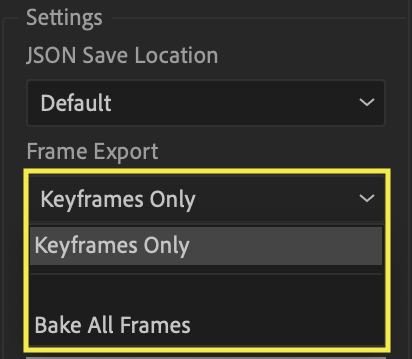
Frame Export (Drop down choice)
This determines how After Effects layer animation is written to the JSON file
Keyframes Only - Only the actual layer keys are exported. Use with linear or Bezier interpolation
Bake All Frames - Keys are generated for every frame of animation. Use with Easing or complex animations not available in Blender.
JSON filepath
If you chose ‘User Selection’ you may need to select your JSON file here in order to add additional items. When generating a new JSON file this is unnessary (Auto Export or Manual Export). When using the Add Tab TrackerJack looks either in the folder where your Project is or at this field. If your JSON file is not in the project folder and this field is empty, you’ll get an error.