Quick Start
Watch the full quick start video here.
After Effects
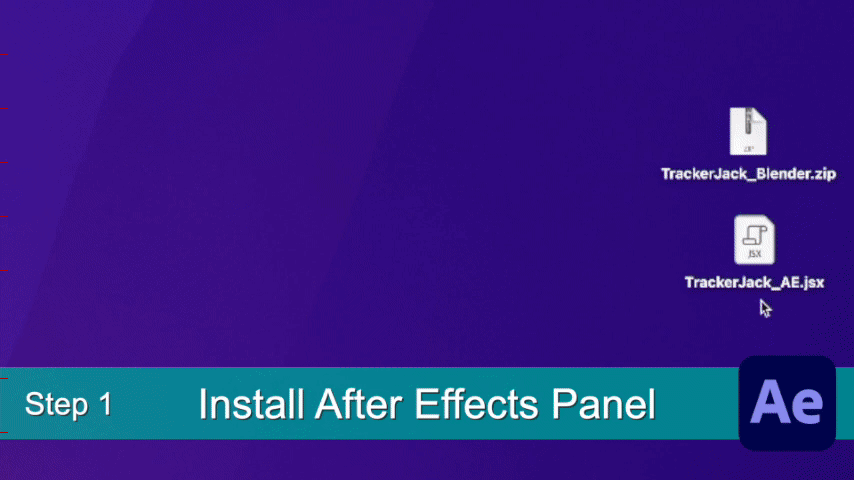
Install After Effects Effects Panel
Install TrackerJack_AE-2.00.jsxbin to your After Effects ScriptUI Panels folder and if you haven’t already. (path_to_After_Effects_Applicaiton_folder) > Scripts > ScriptUI Panels
Open After Effects, and launch the TrackerJack Panel via the Windows Menu (Windows > TrackerJack_AE-2.00.jsxbin)
Open After Effects Preferences and make sure that “Allow scripts to write files and access network” is enabled.
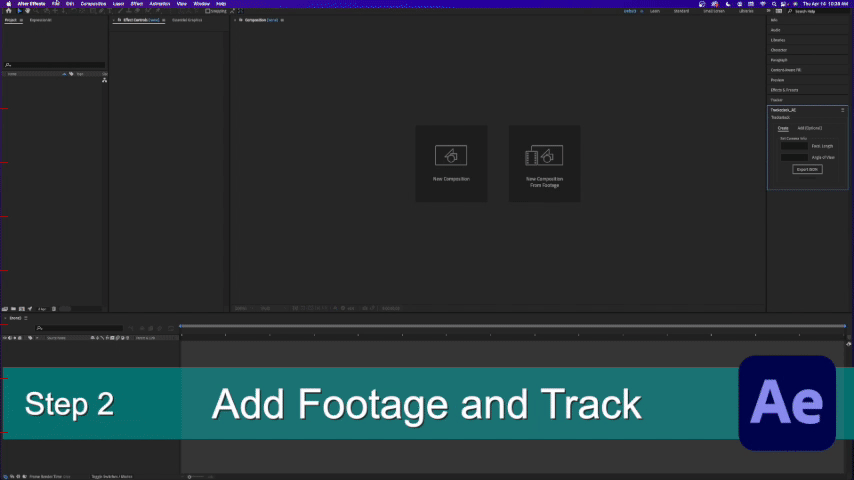
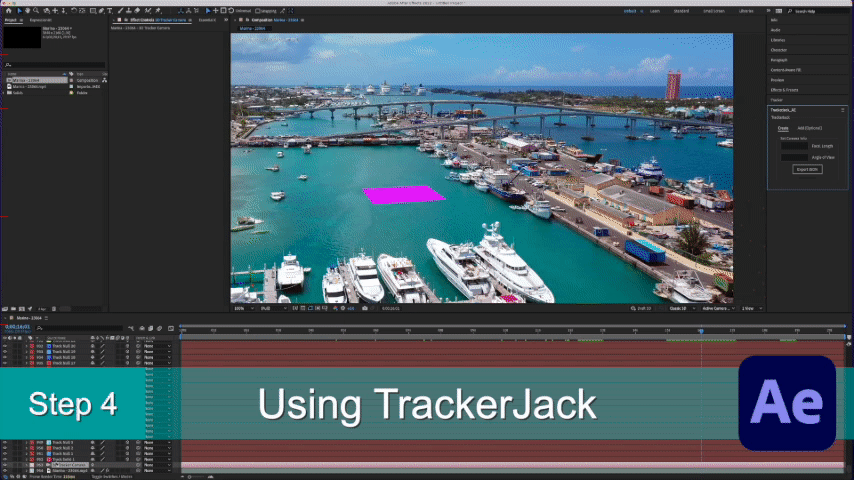
Add footage and Track
Add footage and create a composition.
Use Effects > 3D Camera Tracker on the footage layer in your composition.
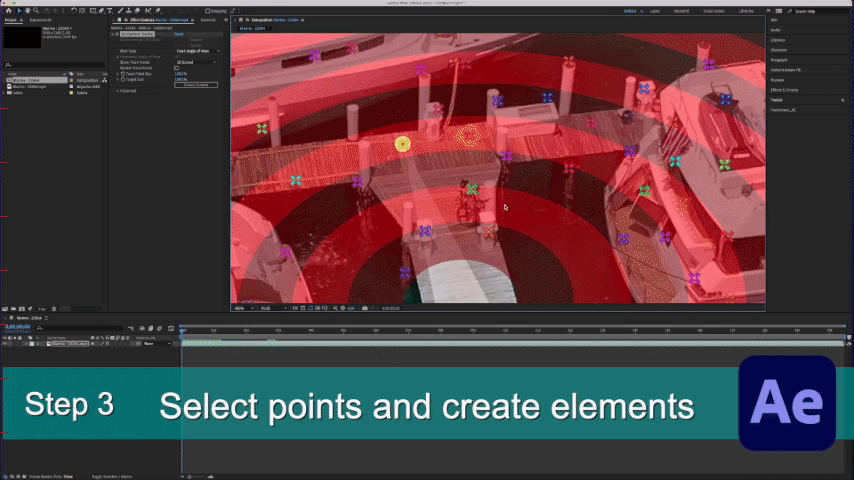
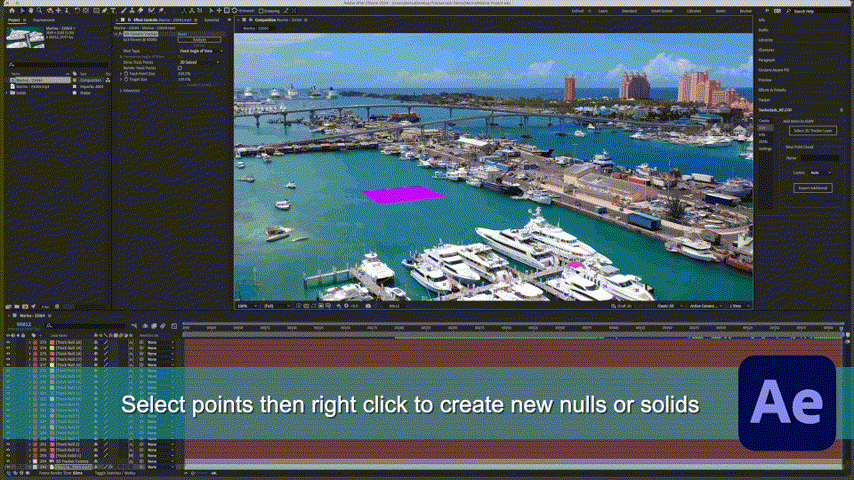
Select tracked points and create elements
a) Select points and right click and choose Set Ground Plane and Origin
b) Right click again and choose Create Solid and Camera.
c) select additional points to create additional nulls and solids as desired.
Export with TrackerJack
Under the Create tab you have two options - Auto Export and Manual Export.
Auto Export is the default and easiest way to export your project data from After Effects to a JSON file that the Blender TrackerJack add-on will import.
Manual Export is as a backup in case of the unlikely case that Auto Export fails.
Auto Export
a) Make sure to save your After Effects Project into a folder. By default this is where your JSON file is saved.
b) In the Create tab click the Auto Export JSON button.
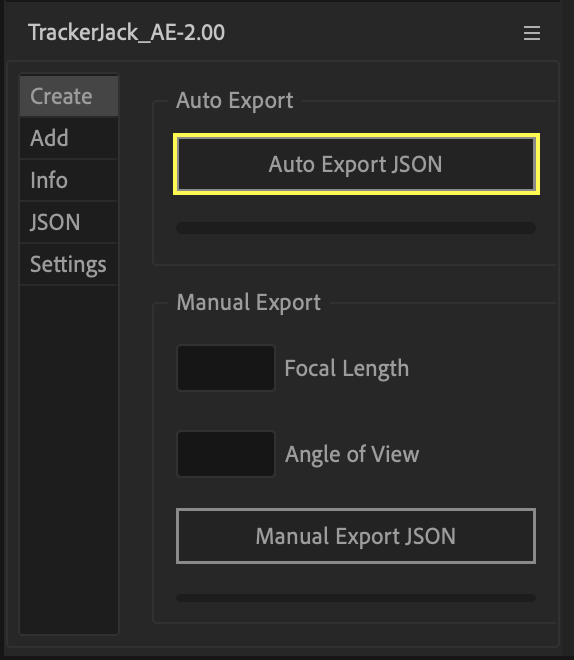
The alert confirms the filepath of the exported file.
Manual Export
a) Enter the Camera information on the TrackerJack panel. Camera Settings units must be millimeters.
b) Save the After Effects file.
c) Click the Manual Export JSON button on the TrackerJack Panel
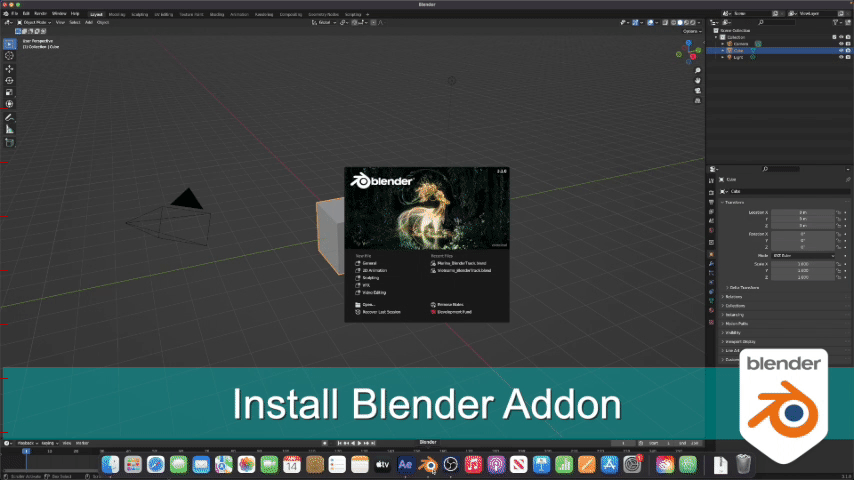
Blender
Install the Blender Addon
Oopen Blender and Install the Blender Add-on if you haven’t already. The Blender panel is found in the 3D view ‘n’ panel. This panel has many options and powerful features that are not avaiable thru the simpler method at File > Import > TrackerJack AE Tracking Data(.json)
Import JSON and Adjust Scene
Import the JSON file into Blender
Click the Select TrackerJack JSON File button and locate the TrackerJack JSON file you exported from After Effects.
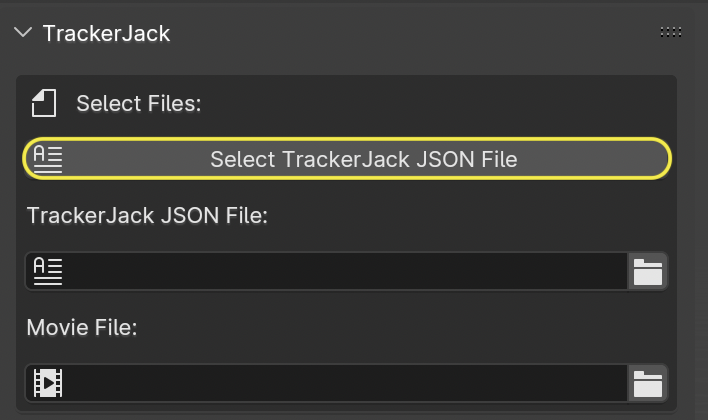
The TrackerJack JSON file and Movie File entry boxes should be display the correct filepaths.

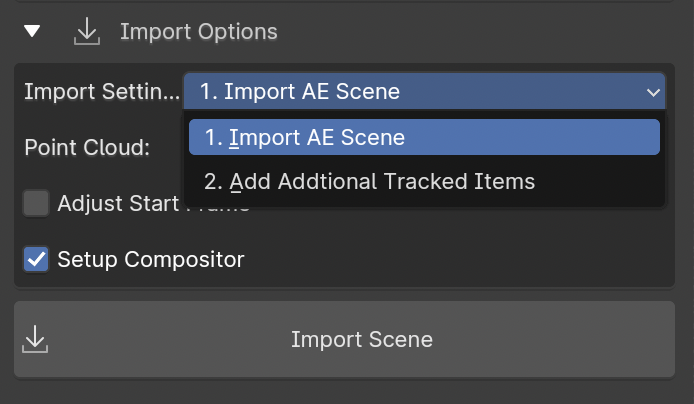
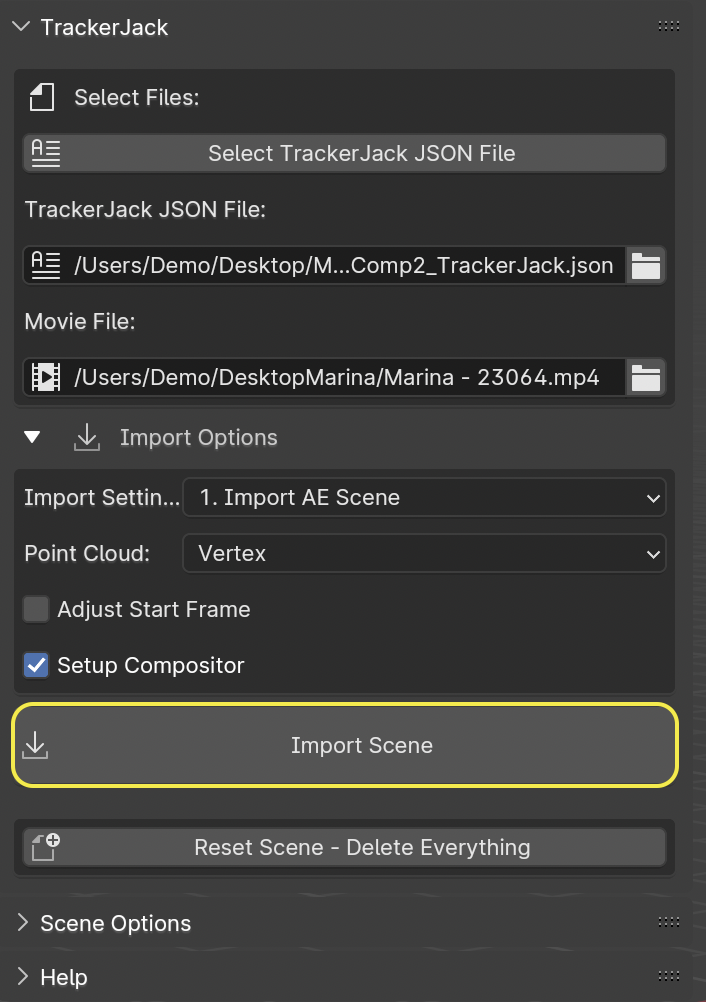
Under Import Settings make sure the option **Import AE Scene is selected.
Tip
If the Movies File entry box is empty, Blender had a problem resolving the filepath. You can either use the file button to manually locate the movie file, or you can use the Import Scene without Movie button.
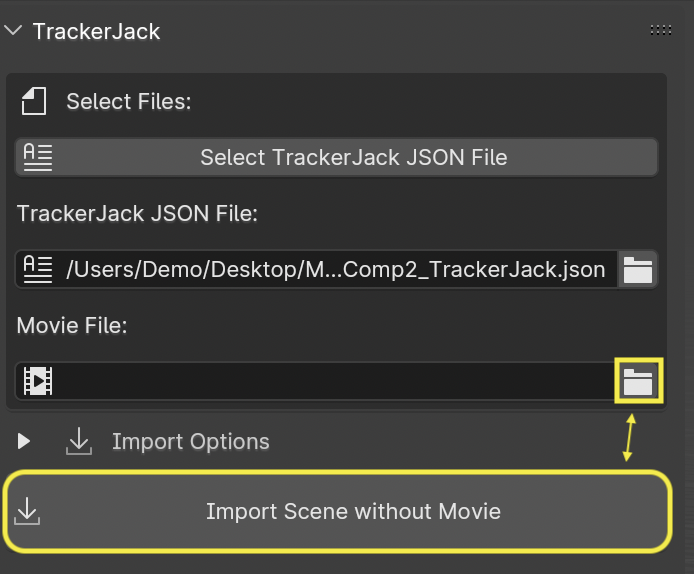
Click the Import Scene button.
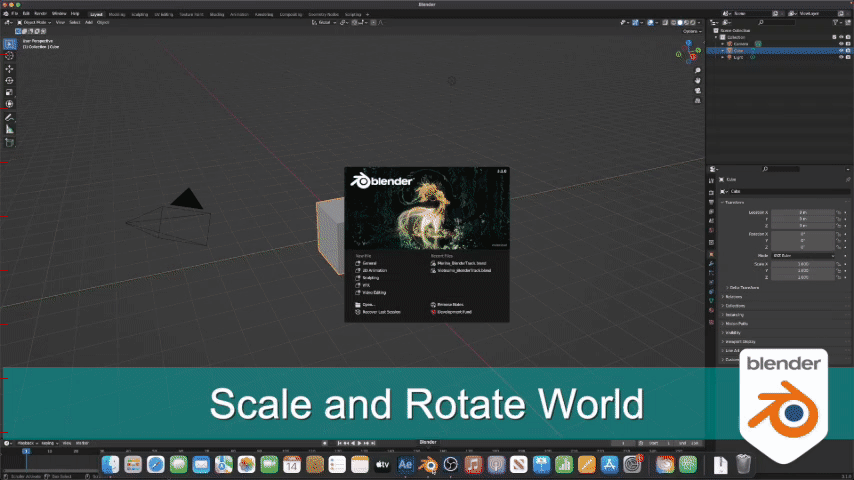
Scale and Rotate the World
Press ‘0’ to switch to the Camera view, or go to View -> Cameras -> Active Camera.
Press Spacebar to play the timeline (Advancing frames)
will update the scene if your pointclould doesn’t seem to be aligned.
Select the “World” empty in the Scene Outiner
Press ‘s’ and adjust the scale so the “Human Scale” mesh matches the scale for your scene.
Press ‘r’ then ‘z’ and adjust the z rotation so the grid matches your scene.
Adding Additional Items
Once you begin modeling your scene in Blender, you may require addtional pointclouds or planes to build out your scene. It is easy to go back to After Effects and create additional layers, append the orginal JSON file, and import them into your Blender scene while maintaining the world scale and rotation you have already set. Each time you click Export Additional button the file is updated.
After Effects - add more
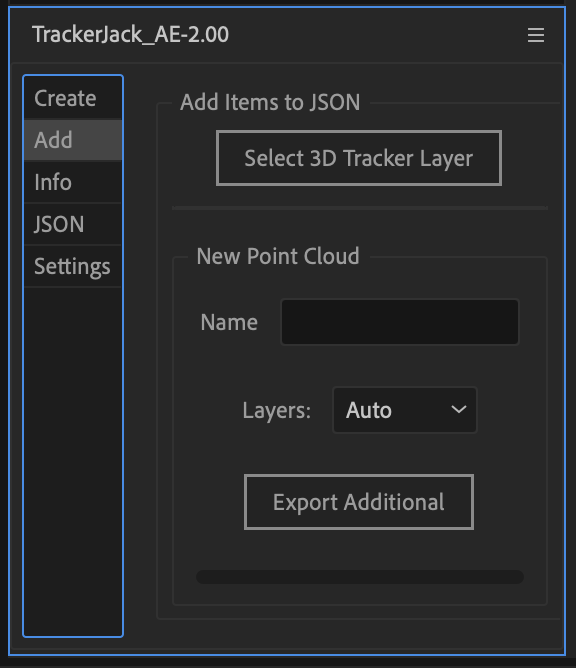
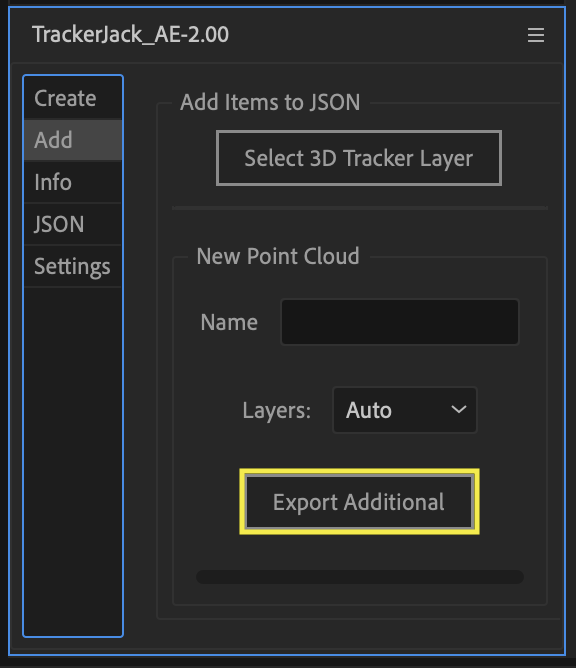
Use the Add tab in the TrackerJack panel to add additional items to an existing JSON file.
Activate the Track points
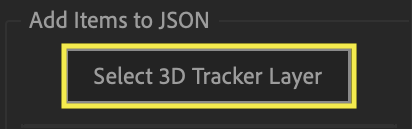
Clicking the button Select 3D Tracker Layer button which selects the movie layer and then selects the 3D Tracker Effect, activating the track points for selection.
Create more null and solid layers
Once the track points are active you can select and create new nulls and or solids in your composition.
Name the new pointcloud
Enter a name for the new point cloud (new null layers) in the Name entry box.

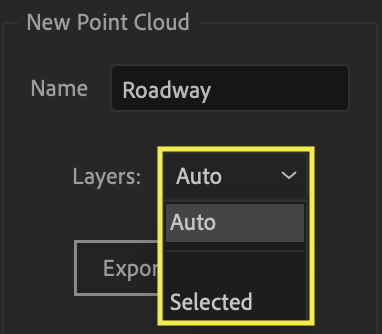
Layers ( Drop down choice )
Auto - will export any new layers since the last export
Selected - will export the layers manually selected in the timeline
Export Additional button
Click the Export Additional button to update the existing JSON file.
Tip
You can continue to create additional null layers, name them, and then click Export Additional repeatedly if you want to create more named pointcloud layers before returning to Blender.
Blender - import more
Tip
Always save your Blender file before updating.
Verify Filepaths and Settings
In the Select Files section of the TrackerJack Blender Paenl make sure the TrackerJack JSON file and Movie File entry boxes display the correct filepaths.
If they are empty click the Select TrackerJack JSON File button and locate the TrackerJack JSON file you exported from After Effects.
Under Import Settings make sure the option **2. Add Additional Tracked Items is the option selected.
Update Scene
Click the Import Scene button.